
Full Guide: Setting Up Next.js and Running it in Docker
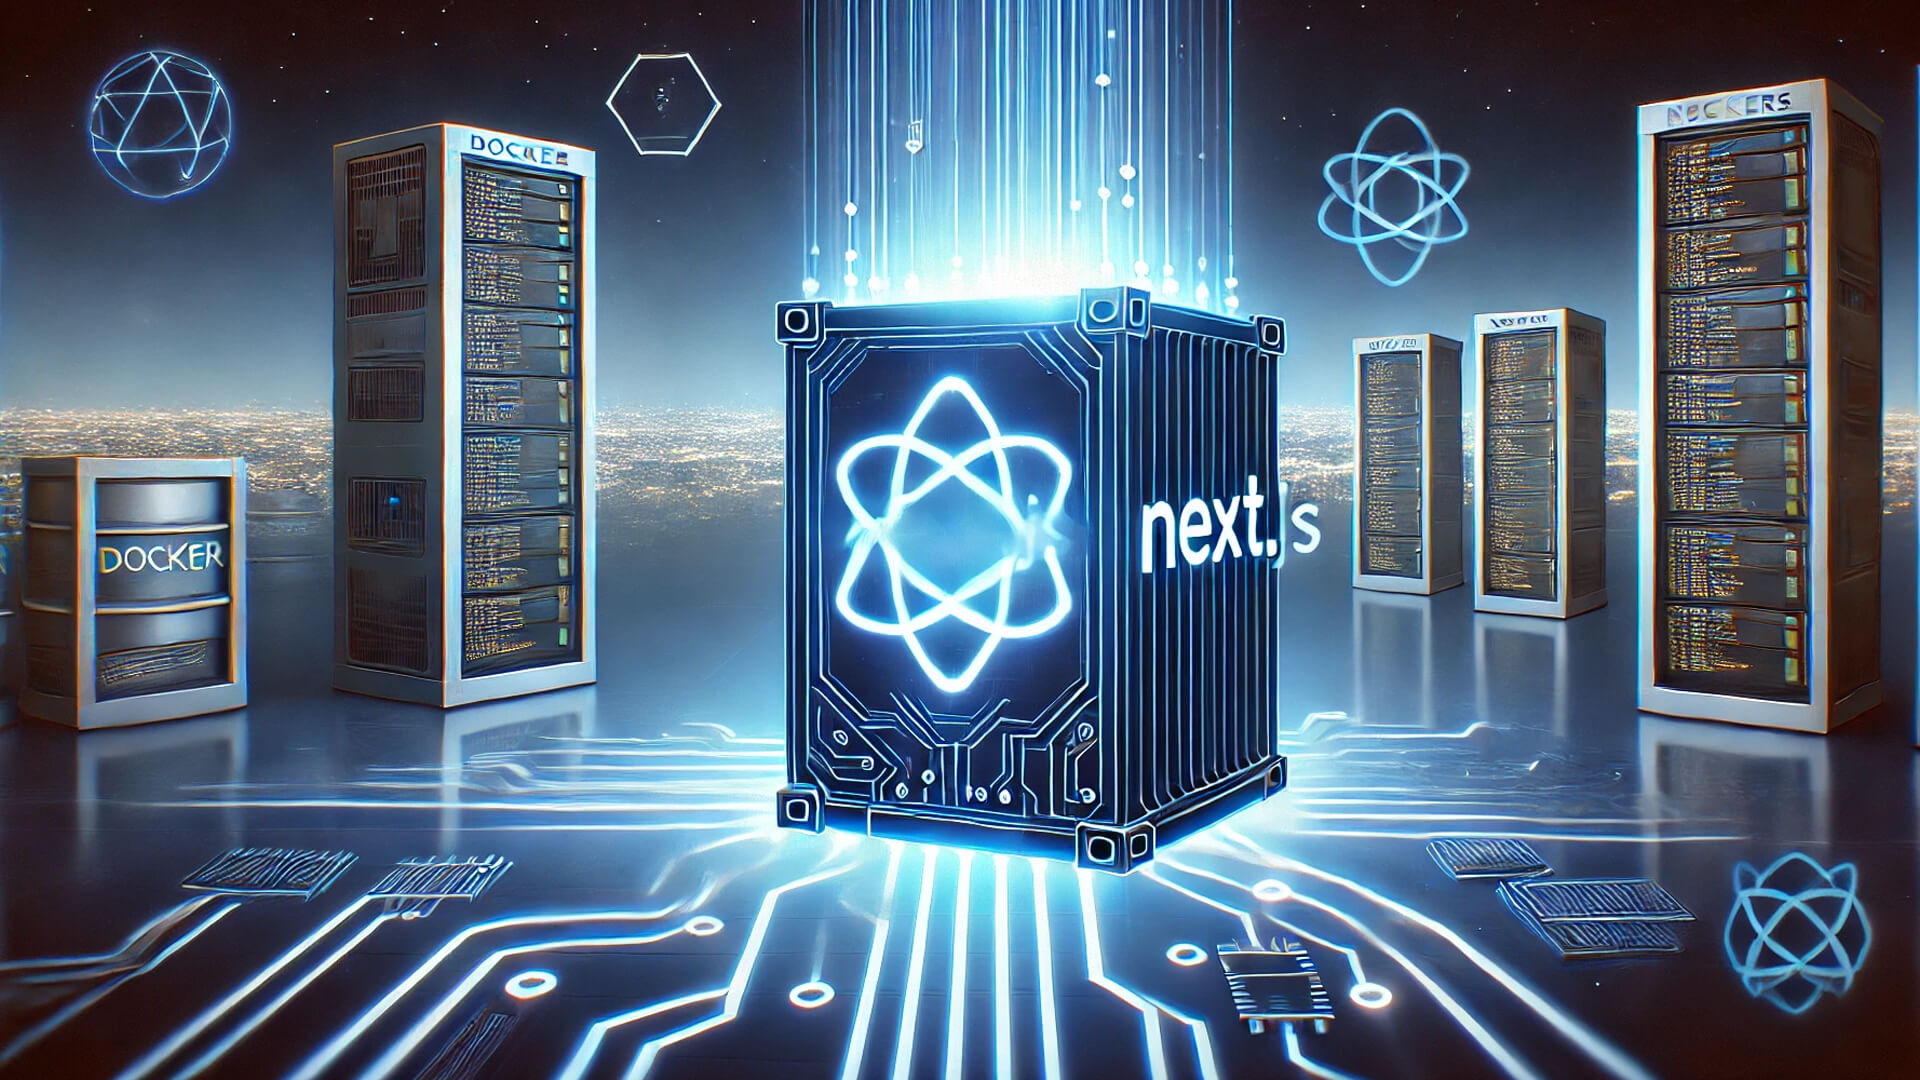
Next.js is a React framework used to build modern web applications with features such as server-side rendering (SSR), static site generation (SSG), and API Routes. Docker allows us to package a Next.js application and all its dependencies in a single container, making it easier to deploy across environments.Dalam tutorial ini, kita akan belajar:
-
Creating a Next.js project
-
Writing a Dockerfile to build a Next.js image
-
Using docker-compose to run an application
-
Running and accessing an application inside a container
1. Next.js Installation
Before using Docker, we need to create a Next.js project first.
a. Create a New Next.js Project
Run the following command to create a Next.js project:
npx create-next-app@latest my-next-app
cd my-next-app
b. Struktur Folder Next.js
After installation, the project will have the following structure:
my-next-app/
public/       # Folder untuk aset statis seperti gambar dan favicon
pages/        # Folder yang berisi halaman Next.js
    index.js  # Halaman utama
    _app.js   # Entry point aplikasi
components/   # Folder untuk komponen yang dapat digunakan kembali
styles/       # Folder untuk file CSS dan styling
package.json  # File konfigurasi dependensi
next.config.js # Konfigurasi Next.js
c. Running Applications Locally
Run the application using the following command:
npm run dev
The application will run on http://localhost:3000.
2. Writing a Dockerfile for Next.js
In order for the Next.js application to run inside Docker, we need to create Dockerfilea . Create file Dockerfileinside the project directory.
# Gunakan image Node.js sebagai base image
FROM node:18-alpine

# Tentukan direktori kerja dalam container
WORKDIR /app

# Salin package.json dan package-lock.json lalu install dependencies
COPY package*.json ./
RUN npm install

# Salin seluruh kode proyek ke dalam container
COPY . .

# Build aplikasi Next.js
RUN npm run build

# Jalankan aplikasi
CMD ["npm", "run", "start"]

# Ekspos port 3000
EXPOSE 3000
Explanation:
-
FROM node:18-alpine: Using Alpine Linux based Node.js image to be lighter. -
WORKDIR /app: Sets the working directory in the container. -
COPY package*.json ./andRUN npm install: Install dependencies first before copying the entire project code. -
RUN npm run build: Build the application for production mode. -
CMD ["npm", "run", "start"]: Run the application in production mode. -
EXPOSE 3000: Exposes port 3000 to be accessible from outside.
3. Using docker-compose to Run Next.js
Docker Compose allows us to run applications more easily without having to type long Docker commands.
Create a file docker-compose.ymlin the project directory:
version: '3'
services:
  nextjs-app:
    build: .
    ports:
      - "3000:3000"
    volumes:
      - .:/app
      - /app/node_modules
    environment:
      - NODE_ENV=production
Explanation:
-
services: Defines the service (container) to be run. -
build: .: Builds an image fromDockerfilethe current directory. -
ports: Exposes port 3000 inside the container to port 3000 on the host. -
volumes: Sync project folders so that code changes can be applied immediately without having to rebuild the image. -
environment: Sets environment variables (NODE_ENV=production).
4. Running Next.js in Docker
a. Building and Running Containers
Run the following command to build and run the container:
docker-compose up --build
This process will:
-
Building an image from
Dockerfile. -
Running the Next.js container.
-
Exposing the application in
http://localhost:3000.
b. Checking Running Containers
Use the following command to see a list of running containers:
docker ps
c. Stopping Container
If you want to stop the container, use the command:
docker-compose down
This command will stop and remove running containers.
Conclusion
In this tutorial, we have learned how to package a Next.js application using Docker. By using Dockerfile and docker-compose, we can easily run and distribute applications without having to worry about environment differences.
Benefits of running Next.js with Docker: Consistency of development and production environments. Easy deployment to servers or cloud services like AWS, Google Cloud, and Azure. Better dependency management.